Links
Introduction
Links are the most efficient way of using neopay. as they allow a ready-to-start payment to be done. As soon as you have create your neopay account's and you have your application ready in production. Links can be created and published. Meanwhile, you can always test them in sandbox mode.
Here is a list of the main features of links:
- Multiple service types
- Fixed or variable price
- Customizable payment pages with logo and theme colors
- Expiration date
- Draft status, giving users control over when to publish them
- Redirect to a custom page after the payment is completed
Link Creation
To start capturing payments and thus creating links, you'll need to create a link. You can do this by:
- Go to the neopay dashboard and click on
Paymentsoption. - On the top right corner, click on
Payment Linksbutton. - You'll then have on your screen a list of links you've already created. Click on
Createbutton. -
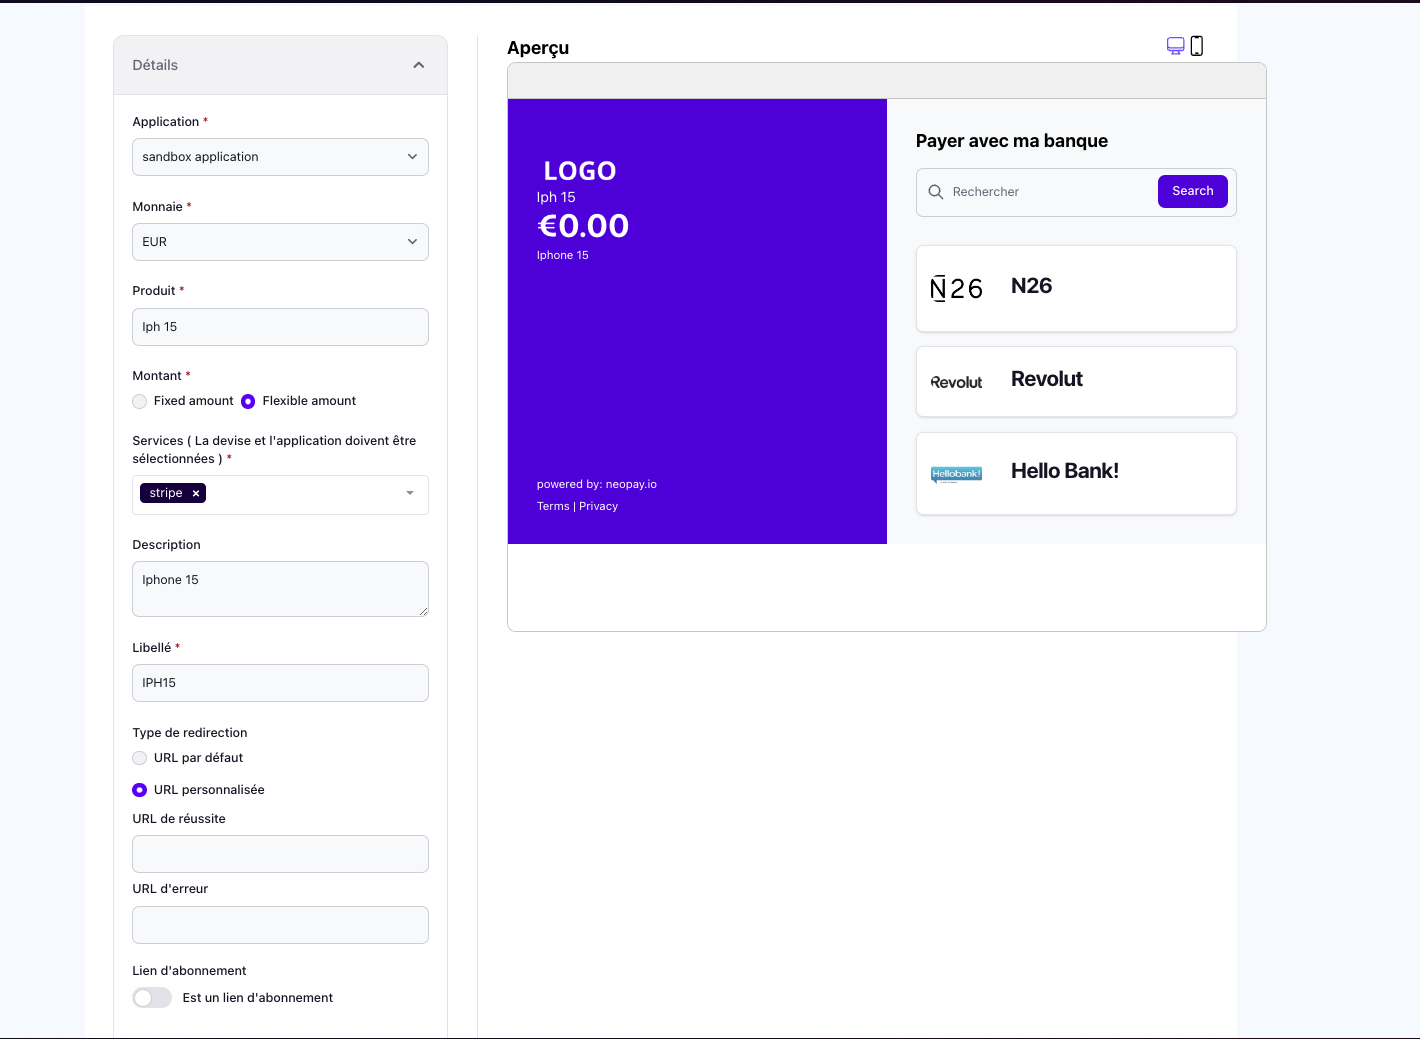
Fill the form with the required information.
Field Type Description ApplicationList List of available applications to be used for the link. CurrencyList List of available currencies to be used for the link. ProductString Product name of Payment Link (Required) Amount typeRadio The Type of amount to be used. can be FixedorFlexibleFixed AmountNumber In case of Fixedamount, this field is required.ServicesList List of available services to be used for the link. DescriptionString Description of the link. ReferenceString Reference of Payment Link. Redirection TypeString Redirection type of the link. can be defaultorcustomSuccess Redirection URLString In case of customredirection, this field is required. URL to be redirected to in case of success.Error Redirection URLString In case of customredirection, this field is required. URL to be redirected to in case of error.Subscription LinkBool Show payee data in page o Payment Link
- You can decide to either use this link form just for the current link, or you can use it as a template for future links. If you want to use it as a template, you can check the
Save as defaultoption. If not, simply click onCreatebutton. - You'll be redirect to the link details page.
Link Publishing
After creating your link, you are redirected to the link details page. You can always close and come back to this page by clicking on Payments option in the top left corner and then Payment Links option.
You can publish it by clicking on the Publish button as seen in the screenshot below.
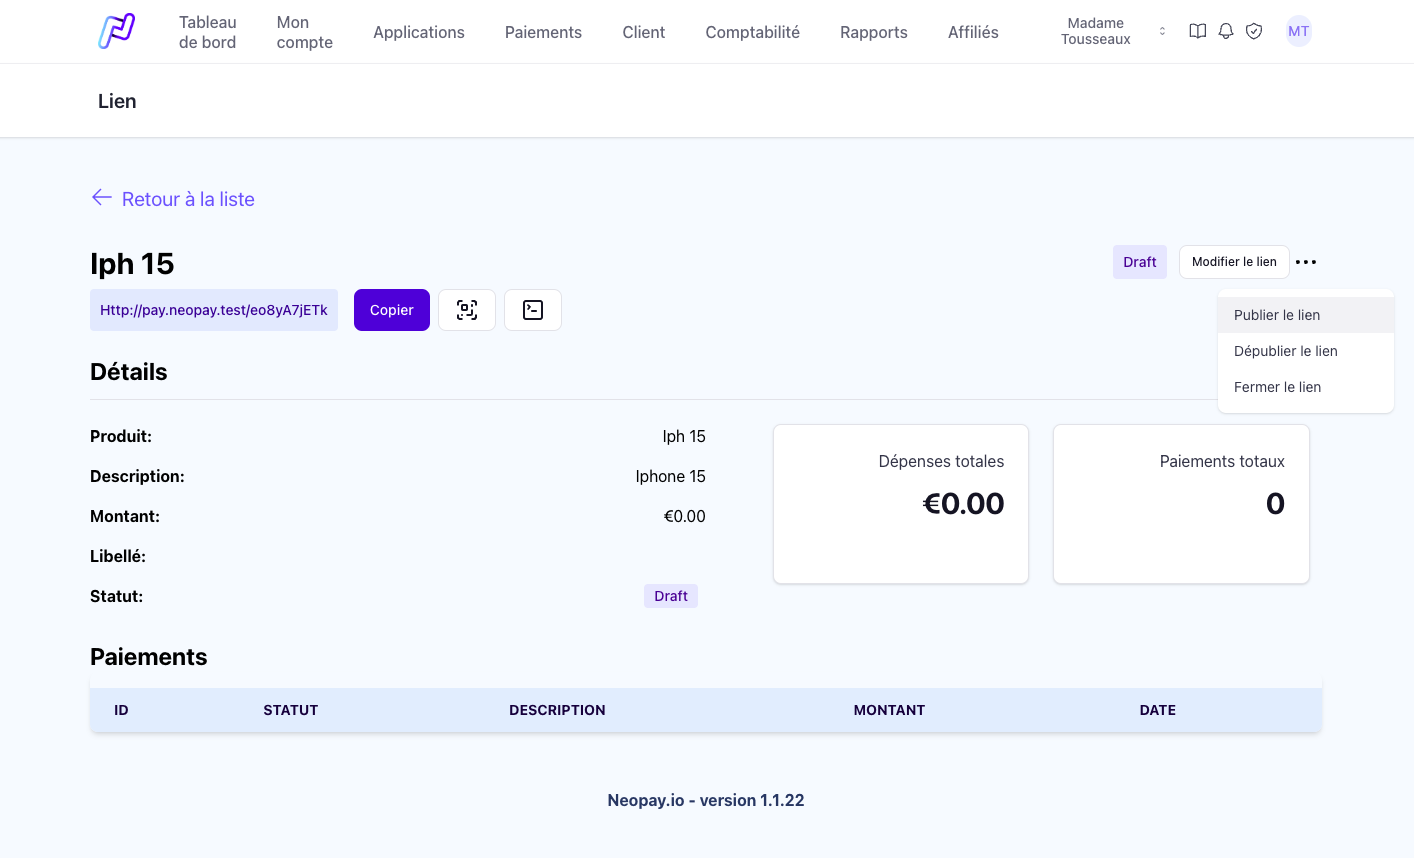
Link Unpublishing
All links can be unpublished by clicking on the Unpublish button inside the links details page.

Link Closing
All links can be closed by clicking on the Close button inside the links details page.
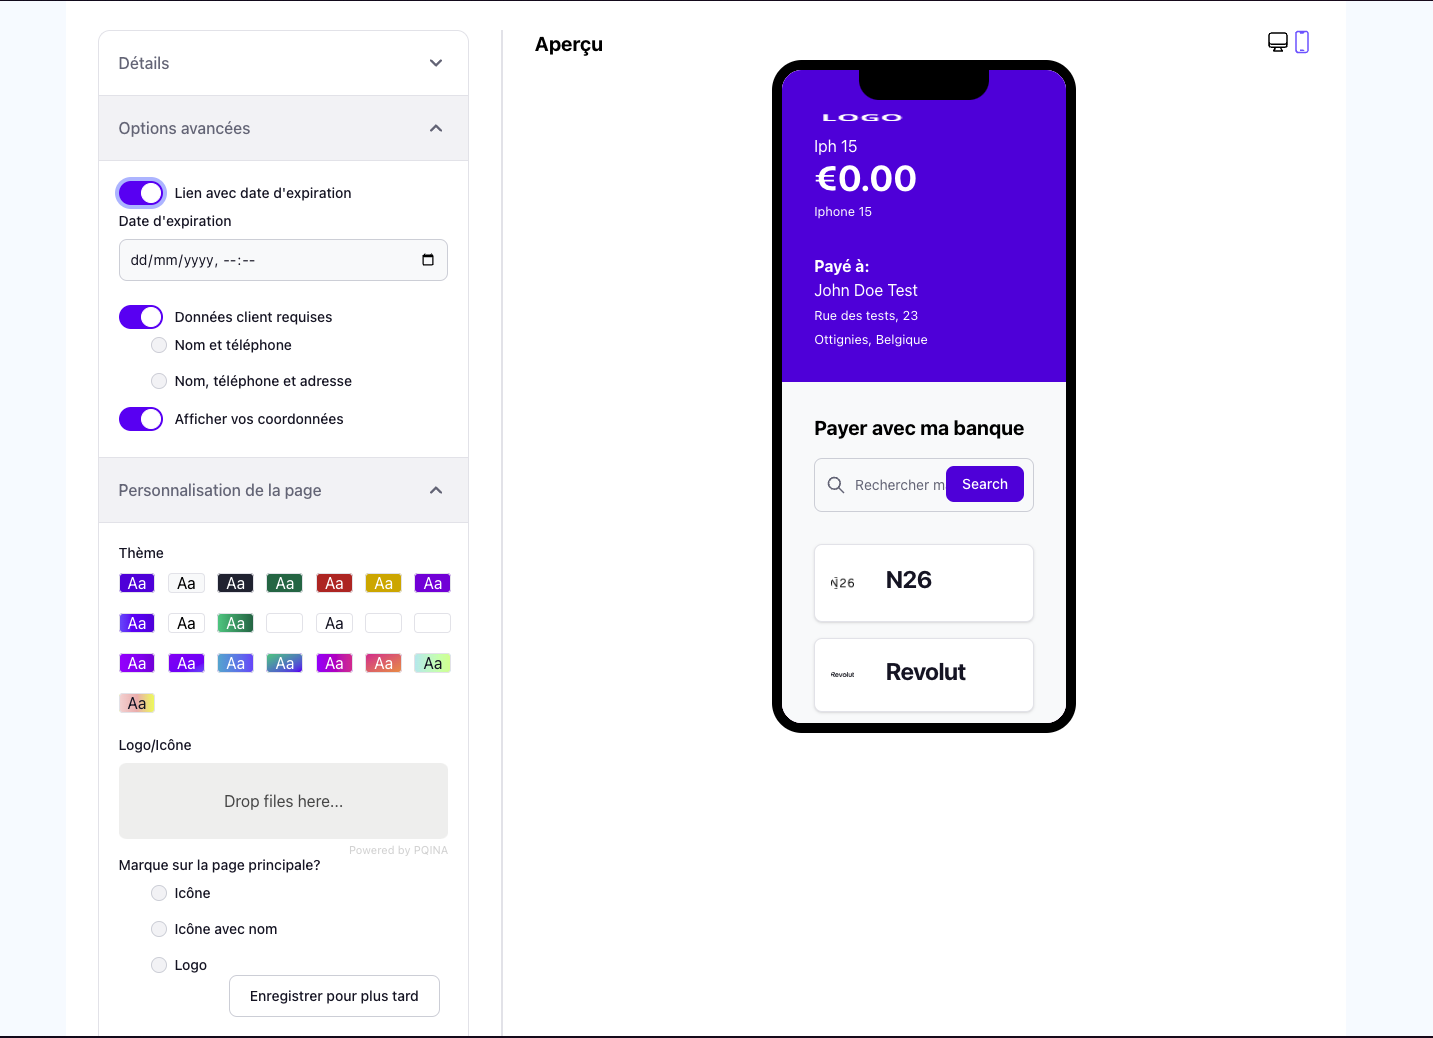
Customization
Neopay offers you the possibility to customize your payment links with different options. You can set some default configurations that helps you reach your needs in terms of information collection and redirection after payment or simply on the design of the payment page.
| Field | Type | Description |
|---|---|---|
Expiration Date |
Bool | Decide if the page needs to expire or not. |
Expiration Date |
Date | Date the Payment Link expires |
Request Customer Data |
Bool | Mark if you want to request extra customer data. |
Customer Data Options |
List | List of available customer data options. |
Show Payee Data |
Bool | Mark if you want to show your information in the page. |
Theme |
List | List of available themes to be used for the link. |
Logo/Icon |
Image | Upload your logo or icon. |
Logo/Icon type |
Radio | Select type type of exhibition of your logo or icon. |
Save for later |
Button | Save the link as a template. The theming and logos will be saved for every new link created. |
Default Product
You can set a default product for your links. This will be the product that will be used for every new link created. This is useful if you want to use the same product for every link created, or if you have a need to use the option of "Quick Links" inside the Chrome extension. To use this feature, you'll need to create a link. but, instead of clicking on Create button, click on Save as default button.
Link Performance
You can always follow up on the perfomance of your links, knowing how many times it was paid, how many times it failed and the amount collected. This info will be available in the link details page. Payments will be shown in the Payments tab.
